如何将新标签插入到BeautifulSoup对象中
在本文中,我们将了解如何将新标签插入到 BeautifulSoup 对象中。请参阅以下示例以更好地了解该主题。

例子:
HTML_DOC :

 “””
             <html>
              <head>
                  <title> Table Data </title>
              </head>
              <body>
                   <div> This is sample div 1 </div>
                   <div> This is sample div 2 </div>
              </body>
            </html>
“””
new_tag : <div> This is new div </div>
Modified BeautifulSoup Object :

“””
             <html>
             <head>
                 <title> Table Data </title>
             </head>
             <body>
                  <div> This is sample div 1 </div>
                  <div> This is sample div 2 </div>
                  <div> This is new div </div>
             </body>
           </html>
“””
所需模块:
BeautifulSoup (bs4):它是一个用于从 HTML 和 XML 文件中提取数据的 Python 库。该模块不是 Python 内置的。在终端中运行以下命令来安装该库
pip install bs4
or
pip install beautifulsoup4使用 new_tag() 方法创建新标签
可以通过调用 BeautifulSoup 的内置函数new_tag()创建新标签。
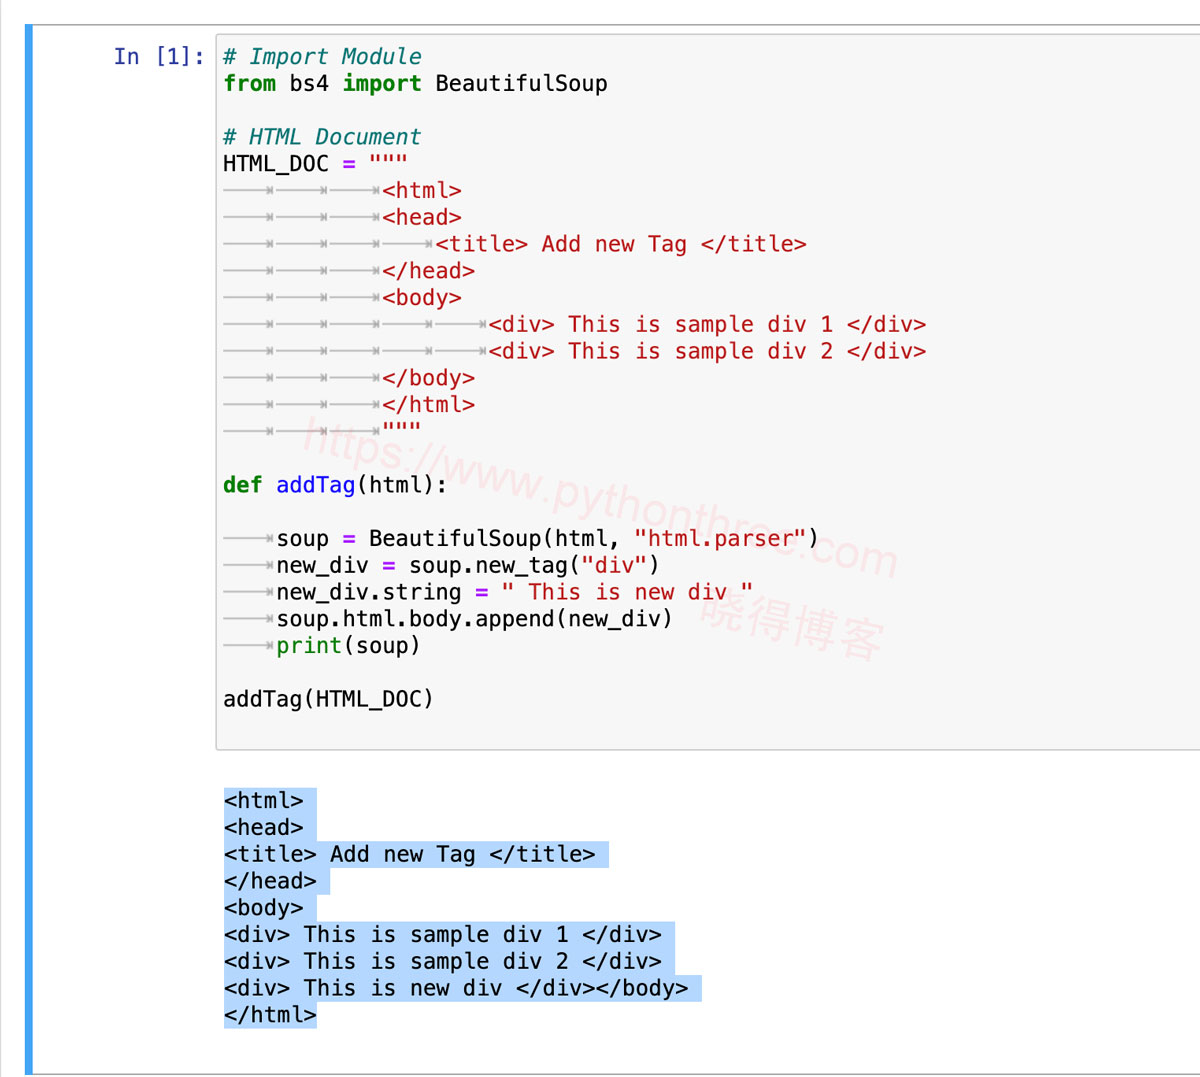
使用append()方法插入新标签
新标签将附加到父标签的末尾。
# Import Module
from bs4 import BeautifulSoup

# HTML Document
HTML_DOC = """
			<html>
			<head>
				<title> Add new Tag </title>
			</head>
			<body>
					<div> This is sample div 1 </div>
					<div> This is sample div 2 </div>
			</body>
			</html>
			"""

def addTag(html):

	soup = BeautifulSoup(html, "html.parser")
	new_div = soup.new_tag("div")
	new_div.string = " This is new div "
	soup.html.body.append(new_div)
	print(soup)

addTag(HTML_DOC)


输出:
<html>
<head>
<title> Add new Tag </title>
</head>
<body>
<div> This is sample div 1 </div>
<div> This is sample div 2 </div>
<div> This is new div </div></body>
</html>使用insert()方法插入新标签

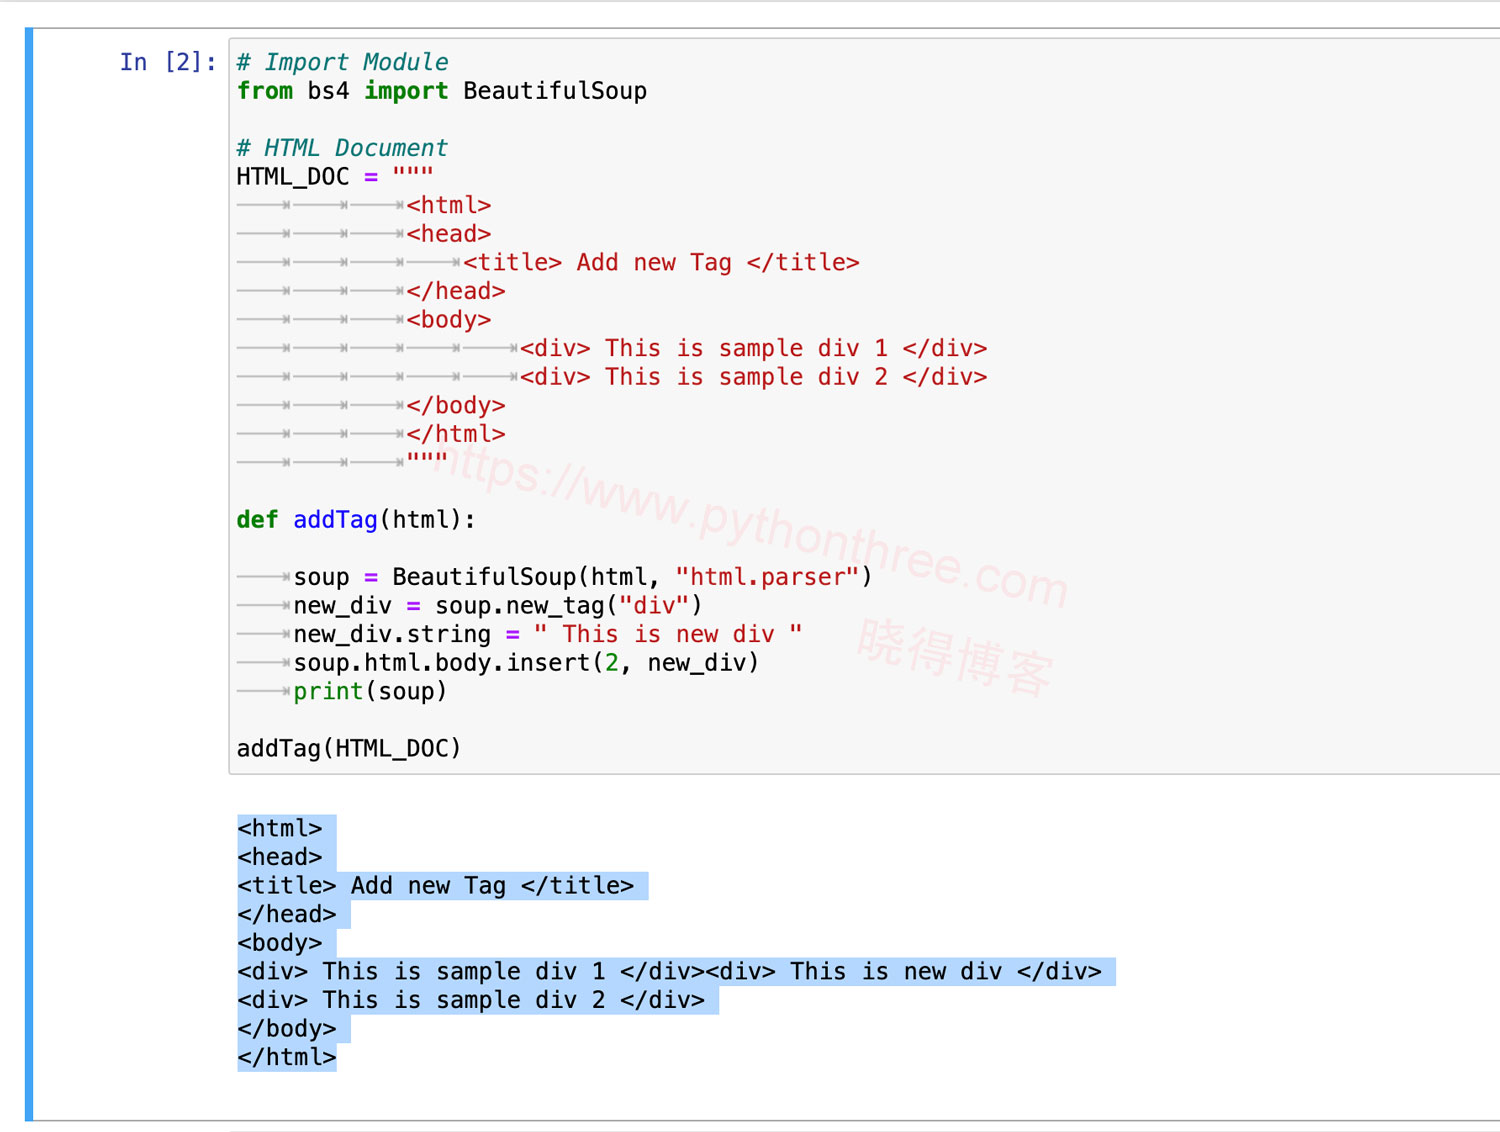
使用此方法,新标签不会附加到父标签的末尾,而是插入到给定的数字位置。它的工作方式与Python列表的.insert()方法相同。例如,如果我们想在div 1和div 2之间插入新的div,我们可以使用 soup.html.body.insert(2, new_div)
soup.html.body.insert(2, new_div)这会将新的 div 插入位置 2,即旧的 2 个 div 之间。
# Import Module
from bs4 import BeautifulSoup

# HTML Document
HTML_DOC = """
			<html>
			<head>
				<title> Add new Tag </title>
			</head>
			<body>
					<div> This is sample div 1 </div>
					<div> This is sample div 2 </div>
			</body>
			</html>
			"""

def addTag(html):

	soup = BeautifulSoup(html, "html.parser")
	new_div = soup.new_tag("div")
	new_div.string = " This is new div "
	soup.html.body.insert(2, new_div)
	print(soup)

addTag(HTML_DOC)

输出:
<html>
<head>
<title> Add new Tag </title>
</head>
<body>
<div> This is sample div 1 </div><div> This is new div </div>
<div> This is sample div 2 </div>
</body>
</html>使用 insert_before() 方法插入新标签:
insert_before() 方法用于在给定标签之前插入新标签。
# Import Module
from bs4 import BeautifulSoup

# HTML Document
HTML_DOC = """
			<html>
			<head>
				<title> Add new Tag </title>
			</head>
			<body>
					<div> This is sample div 1 </div>
					<div> This is sample div 2 </div>
			</body>
			</html>
			"""

def addTag(html):

	soup = BeautifulSoup(html, "html.parser")
	new_div_before = soup.new_tag("div")
	new_div_before.string = " This is new div before div 1 "
	soup.html.body.div.insert_before(new_div_before)
	print(soup)

addTag(HTML_DOC)


输出:
<html>
<head>
<title> Add new Tag </title>
</head>
<body>
<div> This is new div before div 1 </div><div> This is sample div 1 </div>
<div> This is sample div 2 </div>
</body>
</html>使用 insert_after() 方法插入新标签

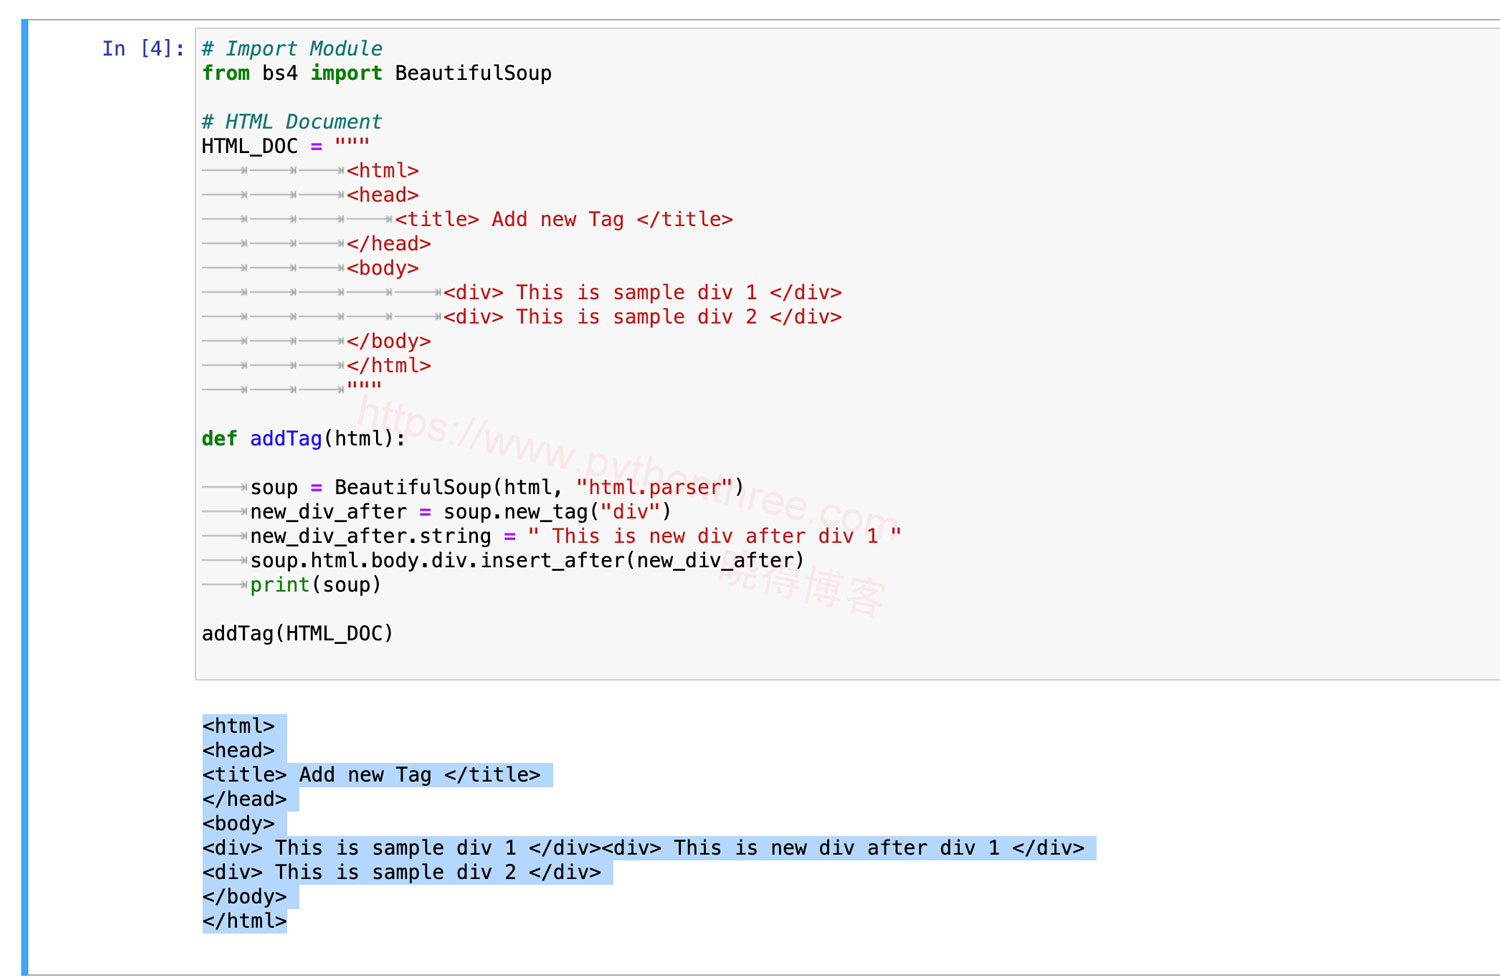
insert_after() 方法用于在给定标签之后插入新标签。
# Import Module
from bs4 import BeautifulSoup

# HTML Document
HTML_DOC = """
			<html>
			<head>
				<title> Add new Tag </title>
			</head>
			<body>
					<div> This is sample div 1 </div>
					<div> This is sample div 2 </div>
			</body>
			</html>
			"""

def addTag(html):

	soup = BeautifulSoup(html, "html.parser")
	new_div_after = soup.new_tag("div")
	new_div_after.string = " This is new div after div 1 "
	soup.html.body.div.insert_after(new_div_after)
	print(soup)

addTag(HTML_DOC)


输出:
<html>
<head>
<title> Add new Tag </title>
</head>
<body>
<div> This is sample div 1 </div><div> This is new div after div 1 </div>
<div> This is sample div 2 </div>
</body>
</html>
无论您是在准备第一次求职面试,还是希望在不断发展的技术领域提高技能,


